From Inspection To Completion: The Complete Roof Repair Process
A damaged roof often creates stress for homeowners, but a clear understanding of the repair process can make the experience smoother and less overwhelming. Roof problems rarely fix themselves, and even small issues like missing shingles or minor leaks can quickly become expensive if ignored.
A
professional roof repair process involves more than just patching visible damage; it follows a step-by-step approach that ensures every problem is identified and addressed properly. By knowing how the repair process works from inspection to completion, homeowners gain confidence that their roof will not only look better but also perform reliably for years ahead.
1. Initial Roof Inspection
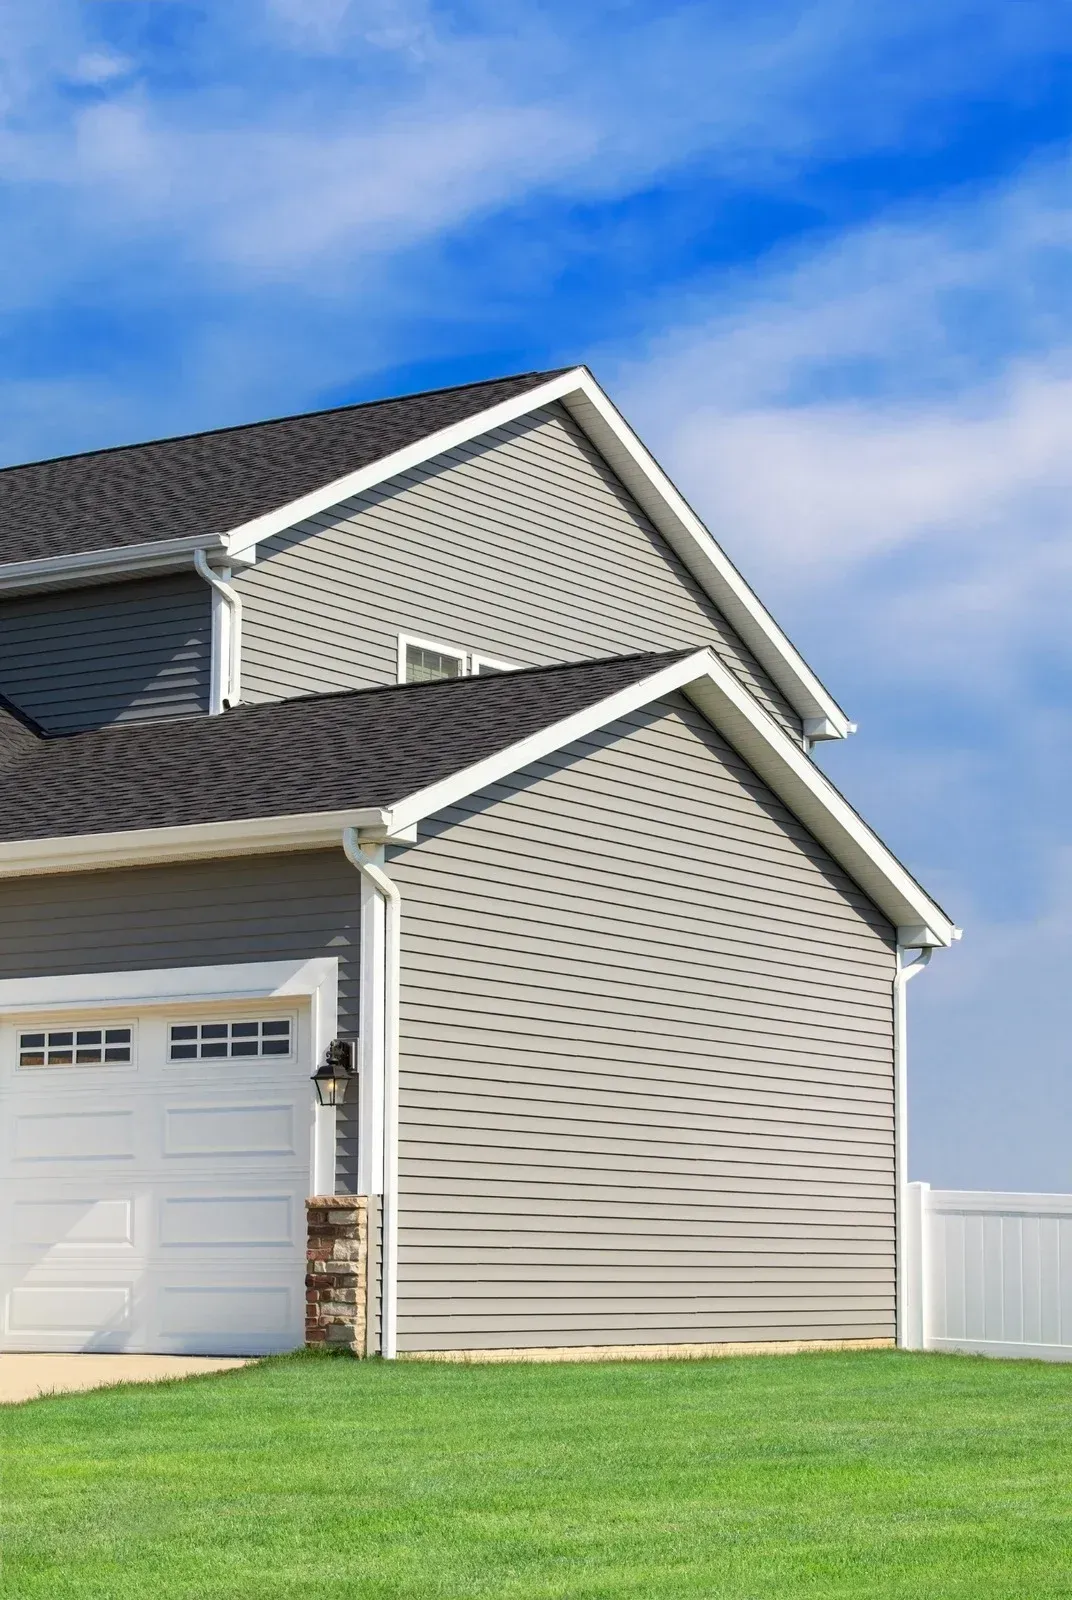
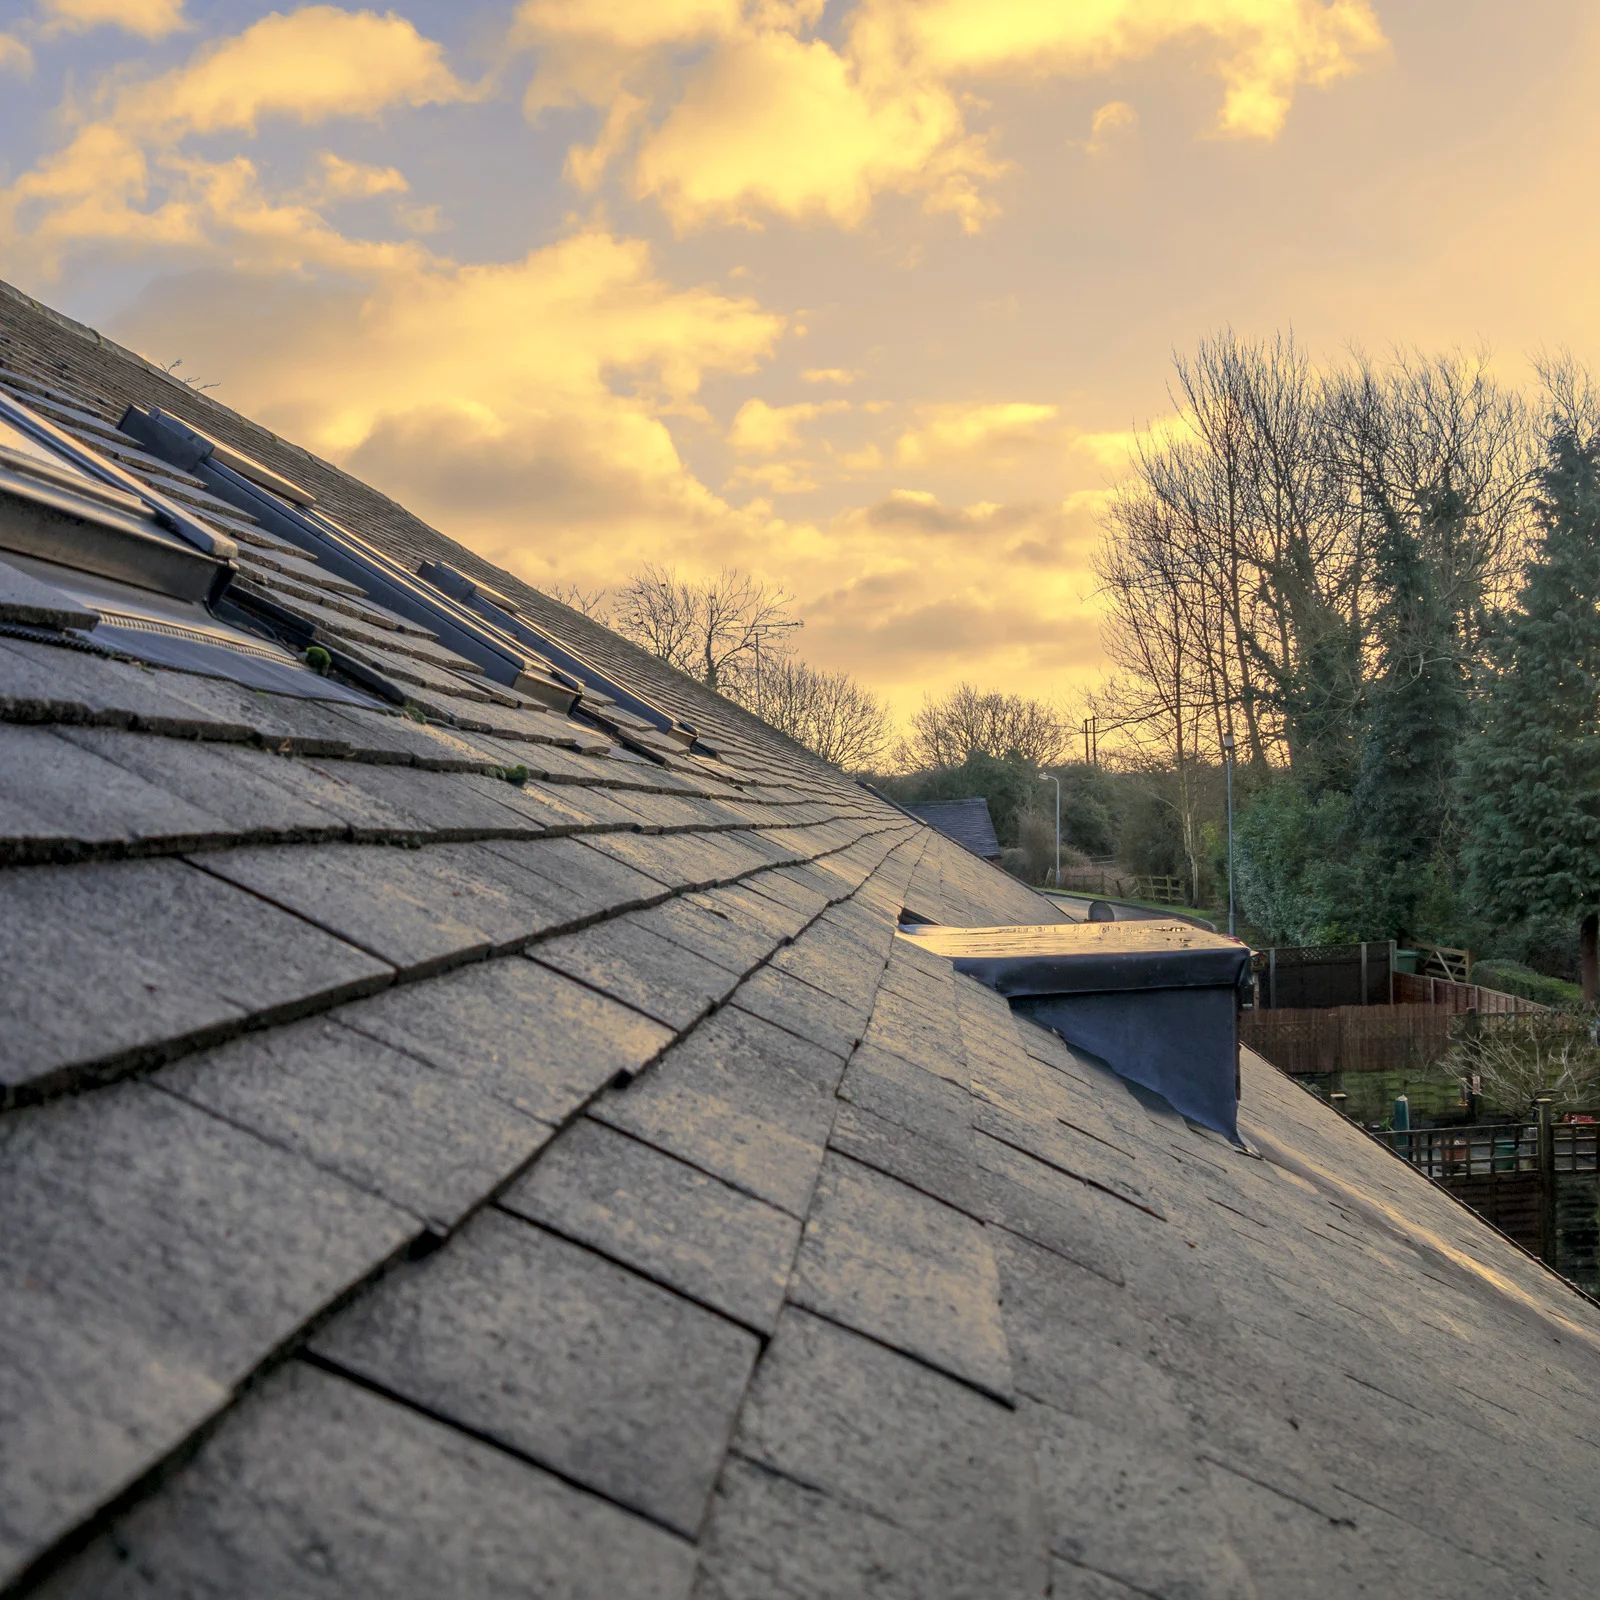
The process begins with a thorough inspection, which is the foundation of every roof repair project. Professionals climb onto the roof to examine shingles, flashing, gutters, and underlying structures. They check for leaks, water stains, or signs of mold inside the attic as well. This stage provides the full picture of the roof’s current condition and highlights both visible and hidden issues. A detailed inspection ensures no problem goes unnoticed before work begins.
2. Damage Assessment and Recommendations
Once the inspection is complete, the roofing expert creates a full assessment of the damage. They identify the exact cause of leaks, missing shingles, or weak spots in the structure. After reviewing the findings, the contractor provides clear recommendations for repair. This may include minor fixes, partial replacement, or addressing ventilation issues. At this stage, the homeowner understands the scope of work and can make informed decisions.
3. Cost Estimate and Planning
After outlining the repairs needed, the contractor prepares an estimate. The estimate includes labor, materials, and the expected timeline. Careful planning prevents delays once the work begins. This step allows homeowners to budget properly and ensures that the repair process runs smoothly from start to finish.
4. Preparing the Work Area
Before the repair begins, the crew prepares the site to protect the property. Tarps are placed over landscaping, and debris disposal areas are set up. Proper preparation ensures that shingles, nails, and old roofing material do not damage the yard, driveway, or surrounding areas. This stage also creates a safe and organized work environment.
5. Roof Repair Execution
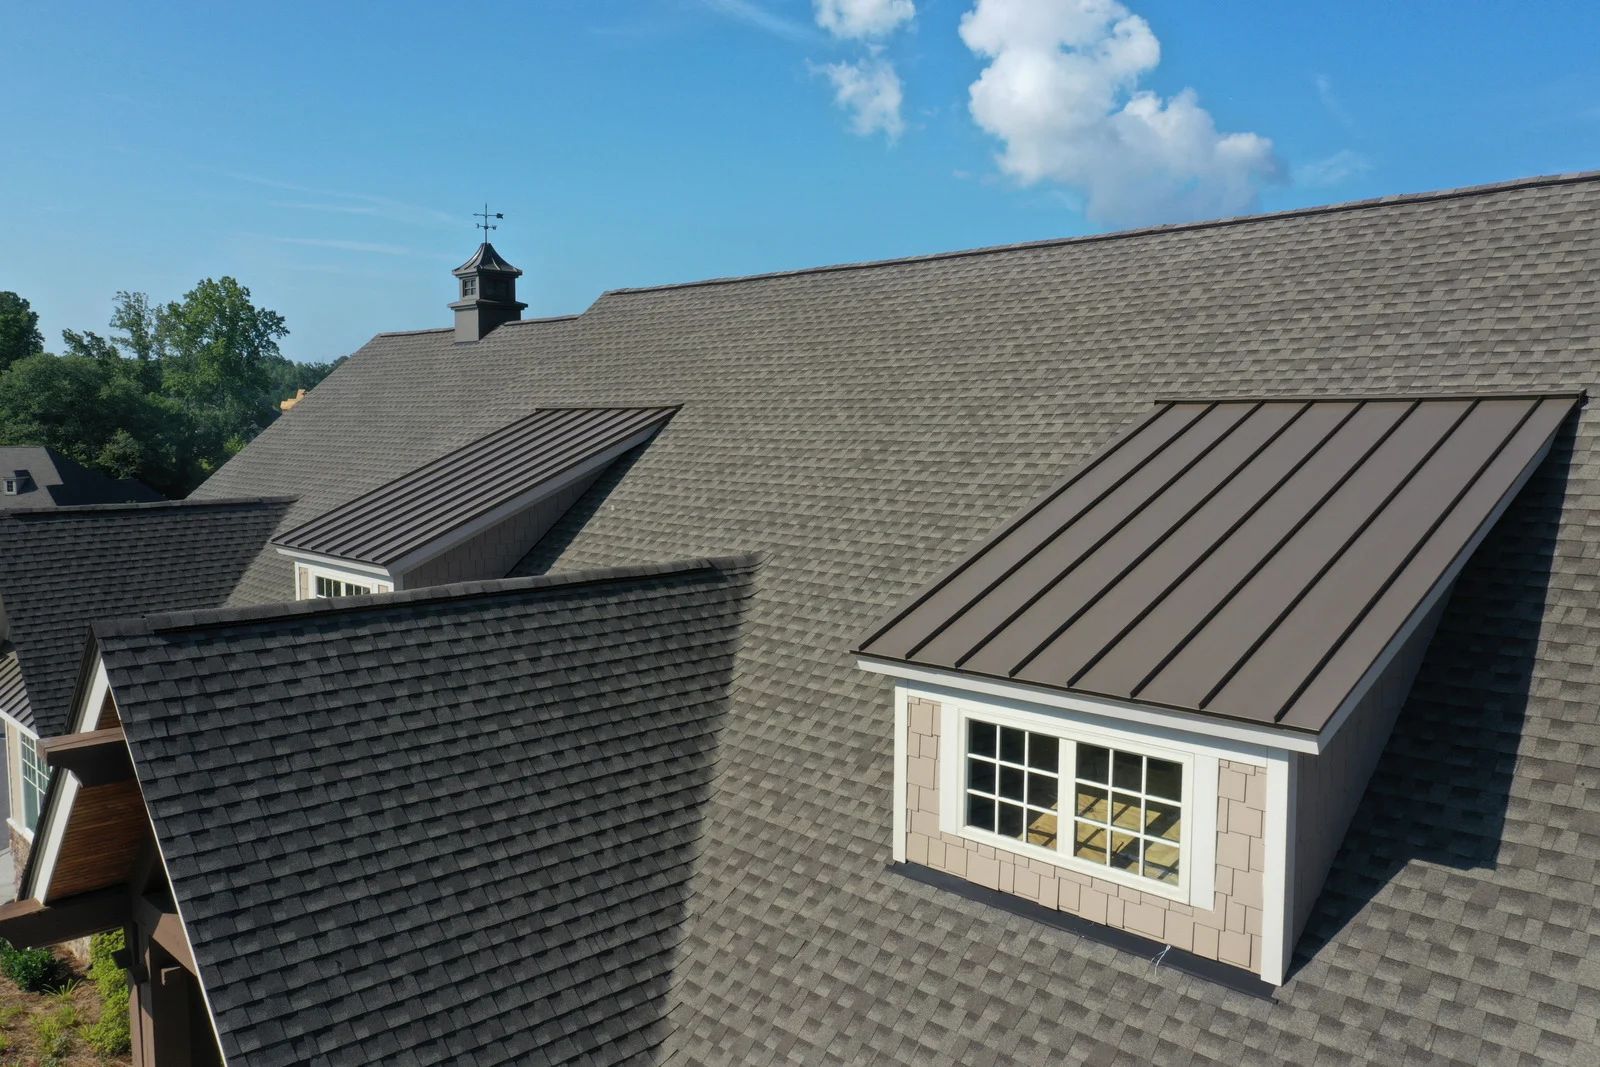
The repair phase depends on the damage identified earlier. Contractors may replace damaged shingles, repair flashing, fix underlayment, or address water penetration points. Each step is done carefully to restore strength to the roof. By following the planned sequence, professionals ensure that the roof can withstand future storms and maintain proper protection.
6. Quality Check and Final Inspection
Once repairs are completed, the roofing team performs a final inspection. They double-check the work for accuracy, ensuring that every leak source and weak spot has been resolved. The cleanup crew removes debris, nails, and leftover materials, leaving the property neat and safe. The last inspection confirms that the roof is secure and ready to protect the home once again.
Conclusion
For homeowners seeking dependable roof repair in Chickasha, Oklahoma, Lopez & Sons Roofing LLC
provides complete solutions from inspection to completion, ensuring every project is handled with care, precision, and long-lasting results.